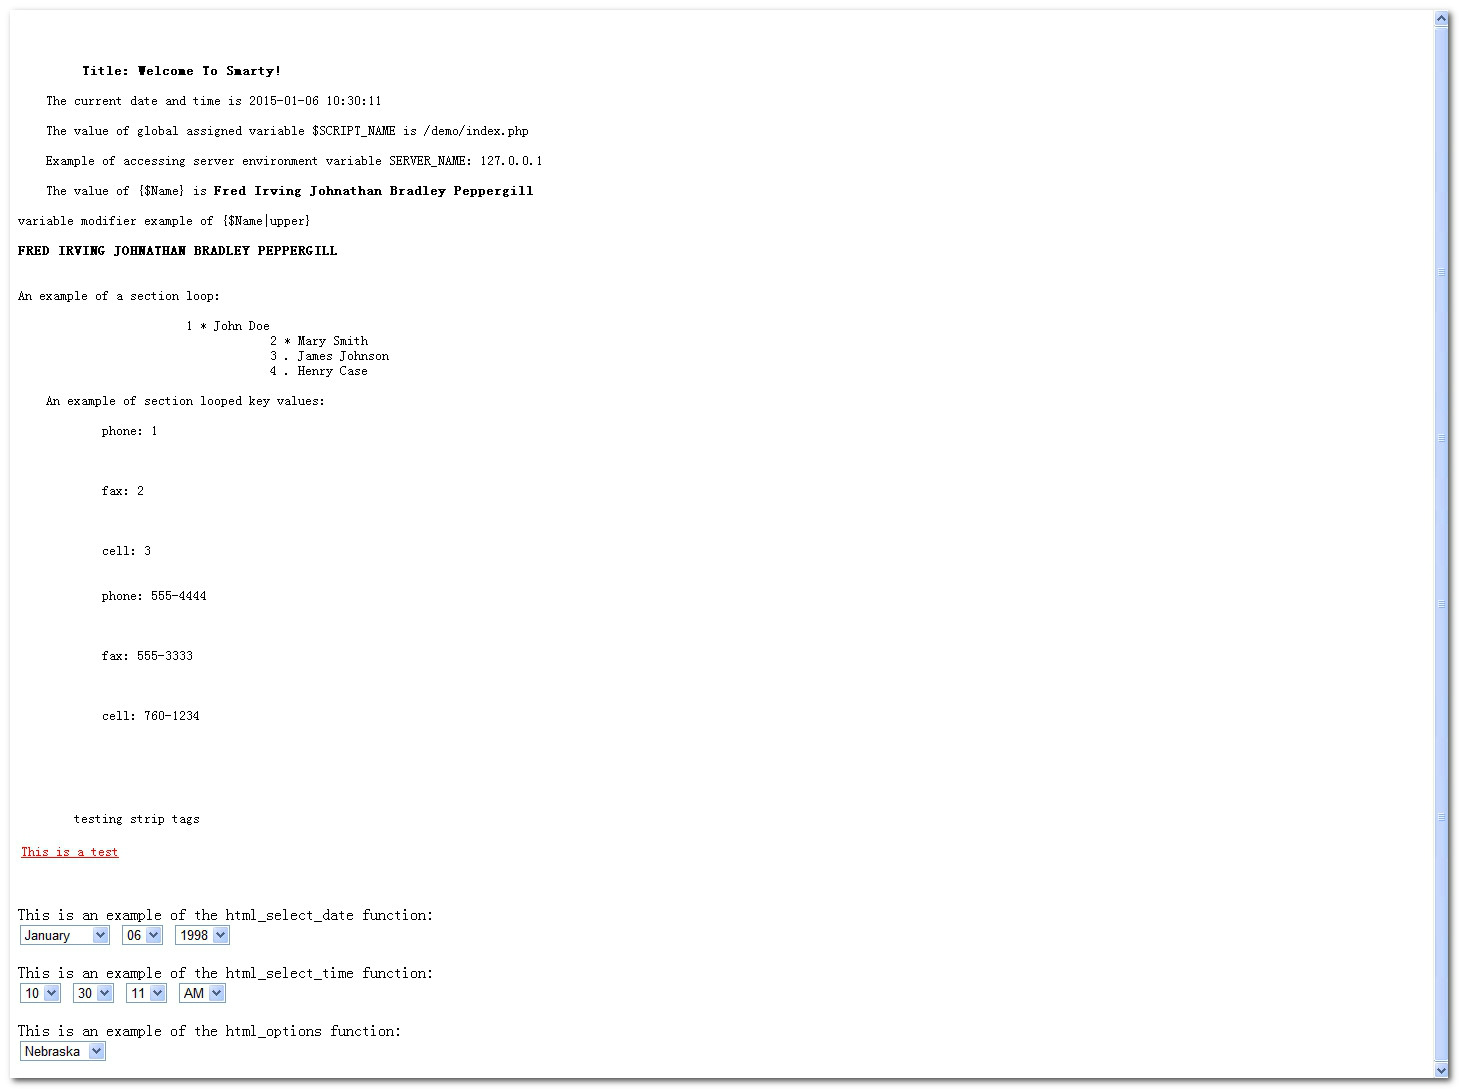
Smarty是专为PHP打造的一款免费开源的模板引擎,能够轻松进行各类PHP程序的模板开发,并且采用Smarty编写的程序不但能够拥有最大的速度提升,而且还可以在运行时要编译成一个非模板技术的PHP文件,让用户使用更加便利。

Smarty是一款实用性极强的开源模板引擎,也是目前业界最著名的PHP模板引擎之一,能够提供易于管理和使用的方法,也能够提供逻辑与外在内容的分离,可以很好用于程序员与美工的工作分享,并且Smarty还采用特色的缓存技术,并支持自定义插件等功能,广受用户喜爱。
1、速度:采用Smarty编写的程序可以获得最大速度的提高,这一点是相对于其它的模板引擎技术而言的
2、编译型:采用Smarty编写的程序在运行时要编译成一个非模板技术的PHP文件,这个文件采用了PHP与HTML混合的方式,在下一次访问模板时将WEB请求直接转换到这个文件中,而不再进行模板重新编译(在源程序没有改动的情况下)
3、缓存技术:Smarty选用的一种缓存技术,它可以将用户最终看到的HTML文件缓存成一个静态的HTML页,当设定Smarty的cache属性为true时,在Smarty设定的cachetime期内将用户的WEB请求直接转换到这个静态的HTML文件中来,这相当于调用一个静态的HTML文件。
4、插件技术:Smarty可以自定义插件。插件实际就是一些自定义的函数。
5、模板中可以使用if/elseif/else/endif。在模板文件使用判断语句可以非常方便的对模板进行格式重排。

// 假设 Smarty 框架已经解压在 /var/www 目录下,此目录是apache2 的家目录
// 现在,先写一个main.php
// main.php
include "smarty-3.1.30/libs/Smarty.class.php";
define ("__SITE_ROOT", "/var/www");
require_once('includes/include.php');
require_once('includes/functions.php');
$tpl = new Smarty();
$tpl->template_dir = __SITE_ROOT . "/templates/"; // 指定模板目录
$tpl->compile_dir = __SITE_ROOT . "/templates_c/"; // 指定临时生成的网站目录
$tpl->config_dir = __SITE_ROOT . "/configs/"; // 指定配置文件目录
$tpl->cache_dir = __SITE_ROOT . "/cache/"; // 指定缓存目录,这个目录里面放着最终显示的网站php 文件
$tpl->left_delimiter = '<{';
$tpl->right_delimiter = '}>';
?>
// 创建一些文件夹
mkdir templates templates_c configs cache
// 编写模板
// vim templates/test.htm
<{$content}>
// index.php 调用该模板
// vim index.php
require "main.php";
$tpl->assign("title", "test");
$tpl->assign("content", "test_1");
// 上面两行也可以用这行代替
// $tpl->assign(array("title" => "测试用的网页标题", "content" => "测试用的网页内容"));
$tpl->display('test.htm'); // 调用模板
?>
一、
1、在本站下载smarty模版引擎压缩包
2、解压此压缩包,发现其下有一个libs文件夹,将libs文件夹重命名为smarty,并移动到网站根目录下的libs文件夹
3、打开smarty引擎libs文件夹,里面有如下文件:
sysplugins 系统插件目录
plugins 外部插件
debug.tpl 输出debug调试信息输出的模板
Smarty.class.php smarty模版引擎核心类文件,要使用smarty模版引擎,首先要引入该文件
SmartyBC.class.php
二、搭建Smarty模板示例:
1、将libs库目录复制过来。
2、创建一个模板目录templates模板文件存放目录
创建一个configs配置文件目录
3、编写index.php文件(入口文件)做Smarty导入和创建
//1.导入Smarty类
require("libs/Smarty.class.php");
//2.创建对象
$smarty = new Smarty();
//3.初始化信息
$smarty->left_delimiter="{";//重新定义Smarty模板的左定界符
$smarty->right_delimiter="}";//重新定义Smarty模板的右定界符
//静态缓存
$smarty->caching=true; //是否开启静态缓存 true(开启)
$smarty->cache_lifetime=5; //设置缓存时间 (5表示缓存5秒钟)
//4.放置变量:
$smarty->assign("name","zhangsan");//向Smarty模板中放置变量name值为张三
$smarty->assign("date",date("Y-m-d H:i:s"));//为模板放一个时间
//5.加载模板:
$smarty->display("index.html");
4、使用浏览器访问index.php,将会创建目录templates_c和cache目录
5、最后的结构:
根目录
|--libs //Smarty库
| |--Smarty.class.php
|--templates //模板目录
| |--index.html
|--templates_c //模板编译目录
|--cache //模板静态缓存目录(注意需开启缓存)
|--configs //配置文件目录
|--index.php //php文件(入口)
三、简单的分析一下Smarty.class.php核心类文件
1、它是一个类文件:类是由属性(变量)和方法构成
2、类的名称:Smarty
3、主要属性或变量:
$template_dir:模版目录,主要用来存放模版文件,如:.html文件、.tpl文件
$compile_dir:编译目录,主要用来存放编译后的php文件,即混编方式的文件
$config_dir:配置目录,主要用来存放公共的配置文件
$cache_dir:缓存目录,主要用来存放缓存文件
$left_delimiter:左边界符
$right_delimiter:右边界符
$caching是否开启缓存
$cache_lifetime定制缓存时间
4、主要方法:
assign():主要用来将php中的标量类型的数据赋值给模版变量。
display():主要用来显示指定的模版文件
5、在使用smarty之前,首现需要对核心类文件(Smarty.class.php)进行配置
//1.首现要引入核心类文件
include_once “libs/smarty/Smarty.class.php”;
//2.使用new关键字创建一个核心类实例对象
$smarty=new Smarty();
//3.配置
$smarty->template_dir=”./templates”; //设置模版目录
$smarty->compile_dir=”./templates_c”; //设置编译目录
$smarty->config_dir=”./configs”; //设置公共配置文件目录
$smarty->caching=false; //设置缓存,在项目调试期间一般不开启缓存
$smarty->cache_dir=”./cache”; //设置缓存目录
/* 1.设置左右边界符,默认的左右边界符是一对大括号,实际应用中一般不使用默认的边界符,因为容易与javascript中函数的定义相冲突
2.以后模版中模版变量都要放在此左右边界符中
*/
$smarty->left_delimiter=”{”;
$smarty->right_delimiter=”}”;
//配置完成之后进行如下操作
//4.将php中标量类型的值赋值给模版变量
$smarty->assign(“username”,$username);
//5.显示对应的模版文件,会根据$smarty->template_dir=”./templates”去当前目录下的templates文件夹下去寻找index.html文件
$smarty->display(“index.html”);
如上配置,我们需要确保当前文件夹下有如下目录,如果没有的话就手工建立
templates //存放模版文件
templates_c //存放编译目录
configs //存放公共配置文件
cache //存放缓存文件
1.此时整个项目的文件部署:
根目录
|--libs
| |--Smarty.class.php
|--templates
| |--a.html
|--templates_c
|--cache
|--configs
|--init.inc.php
|--a.php
|
2.相对路径:在程序文件中引入外部文件或设置目录时都是以本文件为基础的
比如:要在index.php文件中引入Smarty.class.php文件,因为Smarty.class.php文件位于libs/smarty文件夹下,而index.php文件又跟libs文件夹同级,所以应该这样引入:
include_once “libs/smarty/Smarty.class.php”;
一、Smarty有多种类型的变量。
在Smarty中的变量可以直接显示,或者作为 函数, 属性 and 修饰器, 内部条件表达式等的参数。 要显示变量,可以简单地用 定界符 把变量括起来。
Example 4.1. 变量例子
{$Name}
{$product.part_no} {$product.description}
{$Contacts[row].Phone}
说明
一个简单的检查Smarty变量的方法是打开Smarty的 调试控制台。
二、从PHP赋值的变量
赋值的变量以美元符号 ($) 开头。
Example 4.2. 变量赋值
PHP 代码
$smarty = new Smarty();
$smarty->assign('firstname', 'Doug');
$smarty->assign('lastname', 'Evans');
$smarty->assign('meetingPlace', 'New York');
$smarty->display('index.tpl');
?>
index.tpl模板源码:
Hello {$firstname} {$lastname}, glad to see you can make it.
{* this will not work as $variables are case sensitive *}
This weeks meeting is in {$meetingplace}.
{* this will work *}
This weeks meeting is in {$meetingPlace}.
输出:
Hello Doug Evans, glad to see you can make it.
This weeks meeting is in .
This weeks meeting is in New York.
三、数组赋值
可以通过点号“.”来使用赋值的数组变量。
Example 4.3. 数组变量
$smarty->assign('Contacts',
array('fax' => '555-222-9876',
'email' => 'zaphod@slartibartfast.example.com',
'phone' => array('home' => '555-444-3333',
'cell' => '555-111-1234')
)
);
$smarty->display('index.tpl');
?>
index.tpl模板代码:
{$Contacts.fax}
{$Contacts.email}
{* you can print arrays of arrays as well *}
{$Contacts.phone.home}
{$Contacts.phone.cell}
输出:
555-222-9876
zaphod@slartibartfast.example.com
555-444-3333
555-111-1234
四、数组下标
你可以通过下标来使用数组,和PHP语法一样。
Example 4.4. 使用数组下标
$smarty->assign('Contacts', array(
'555-222-9876',
'zaphod@slartibartfast.example.com',
array('555-444-3333',
'555-111-1234')
));
$smarty->display('index.tpl');
?>
index.tpl模板代码:
{$Contacts[0]}
{$Contacts[1]}
{* you can print arrays of arrays as well *}
{$Contacts[2][0]}
{$Contacts[2][1]}
输出:
555-222-9876
zaphod@slartibartfast.example.com
555-444-3333
555-111-1234
五、对象
从PHP赋值的对象的属性和方法,可以通过->来使用。
Example 4.5. 使用对象
name: {$person->name}
email: {$person->email}
输出:
name: Zaphod Beeblebrox
email: zaphod@slartibartfast.example.com
1、phpcms模版引擎跟smarty模版引擎有什么不同?
smarty模板,在php文件里面的查询数据库,然后经由过程smarty语句传到模板里面,然后显示。phpcms模版引擎,页面经由过程 include template() 调用 function template($module = \'phpcms\', $template = \'index\') ,return $compiledtplfile页面返回编译的
2、PHP模板引擎smarty3.0以上版本怎么清除缓存?
$smarty->clear_cache()清除的是你之前设置显示的缓存页面,里面有两个参数,一个是模板页面名称,一个是缓存ID。
如果你在用命令$smarty->display()显示一个模板页面时设置了缓存ID,那么这个页面就会一直缓存,以后你显示此模板页面的都将是这次缓存的内容。想要清除此缓存页面就要用到$smarty->clear_cache();
例如:如果你在显示test.html模板时指定页面缓存ID为123:$smarty->display("test.html",123);
那么只有使用了$smarty->clear_cache("test.html",123);这行代码才能清除缓存。
3、用smarty模版引擎的网站总是打不开且出现错误报告
Internal Server Error
The server encountered an internal error or misconfiguration and was unable to complete your request.
Please contact the server administrator, pp@sina.com and inform them of the
time the error occurred, and anything you might have done that may have caused
the error.
More information about this error may be available in the server error log
该问题是配置错误,先试一下把assign display 等代码删掉,只留加载smarty配置文件代码,没错的话一句句加,看在哪行的时候出了错误。

168.49MB|行业软件

115.08MB|行业软件

38.68MB|行业软件

8.51 MB|行业软件

219.1 MB|行业软件

33.34MB|行业软件

1.9MB|行业软件

89.85MB|行业软件

33.18MB|行业软件

95.76MB|行业软件
对于您的问题快深感抱歉,非常感谢您的举报反馈,小编一定会及时处理该问题,同时希望能尽可能的填写全面,方便小编检查具体的问题所在,及时处理,再次感谢!